Car Reveal Video
Tools
BlenderPremiere Pro
I was tasked with creating a short cinematic video for a concept car. To create this video I used Blender for texturing, lighting and rendering the car model. I also used Adobe Premiere Pro and Adobe After Effects for editing.
Process
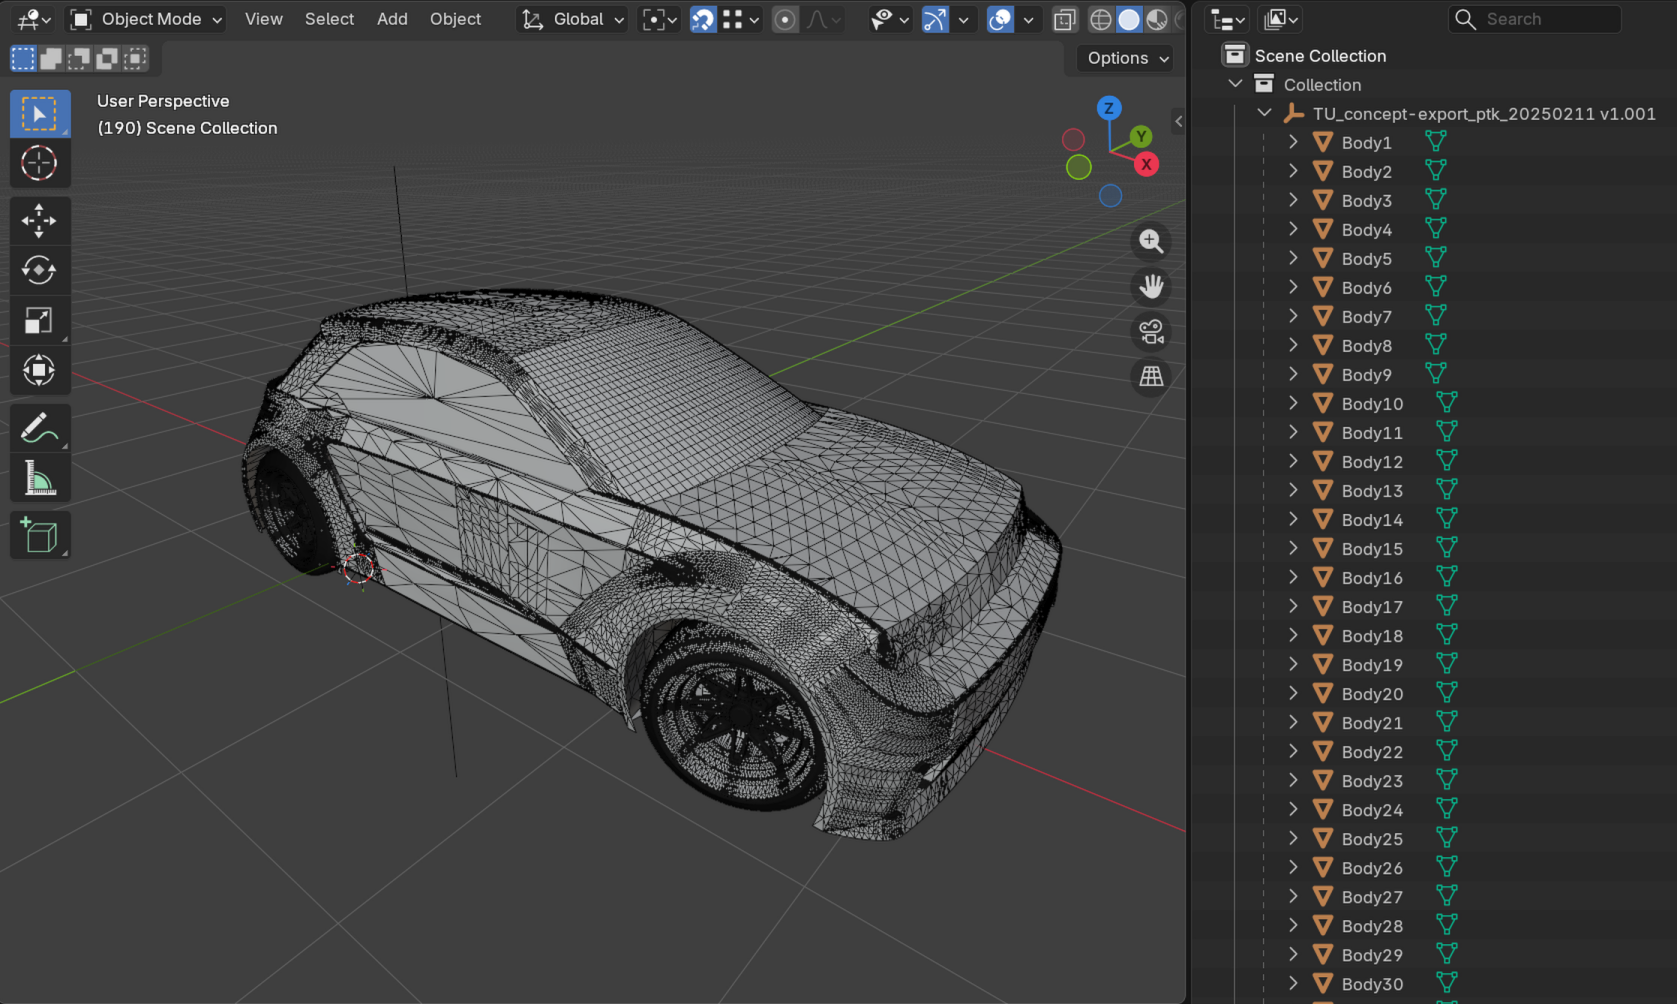
Topology & Preprocessing
The model was exported from a parametric modelling tool, so the topology was not optimized for 3D animation and every part was exported as a seperate body with a numbered name. In addition, the car model had no panel gaps which made it look silly. Therefore, before I could create the scene I had to preprocess the model by retopologizing it and creating object collections.
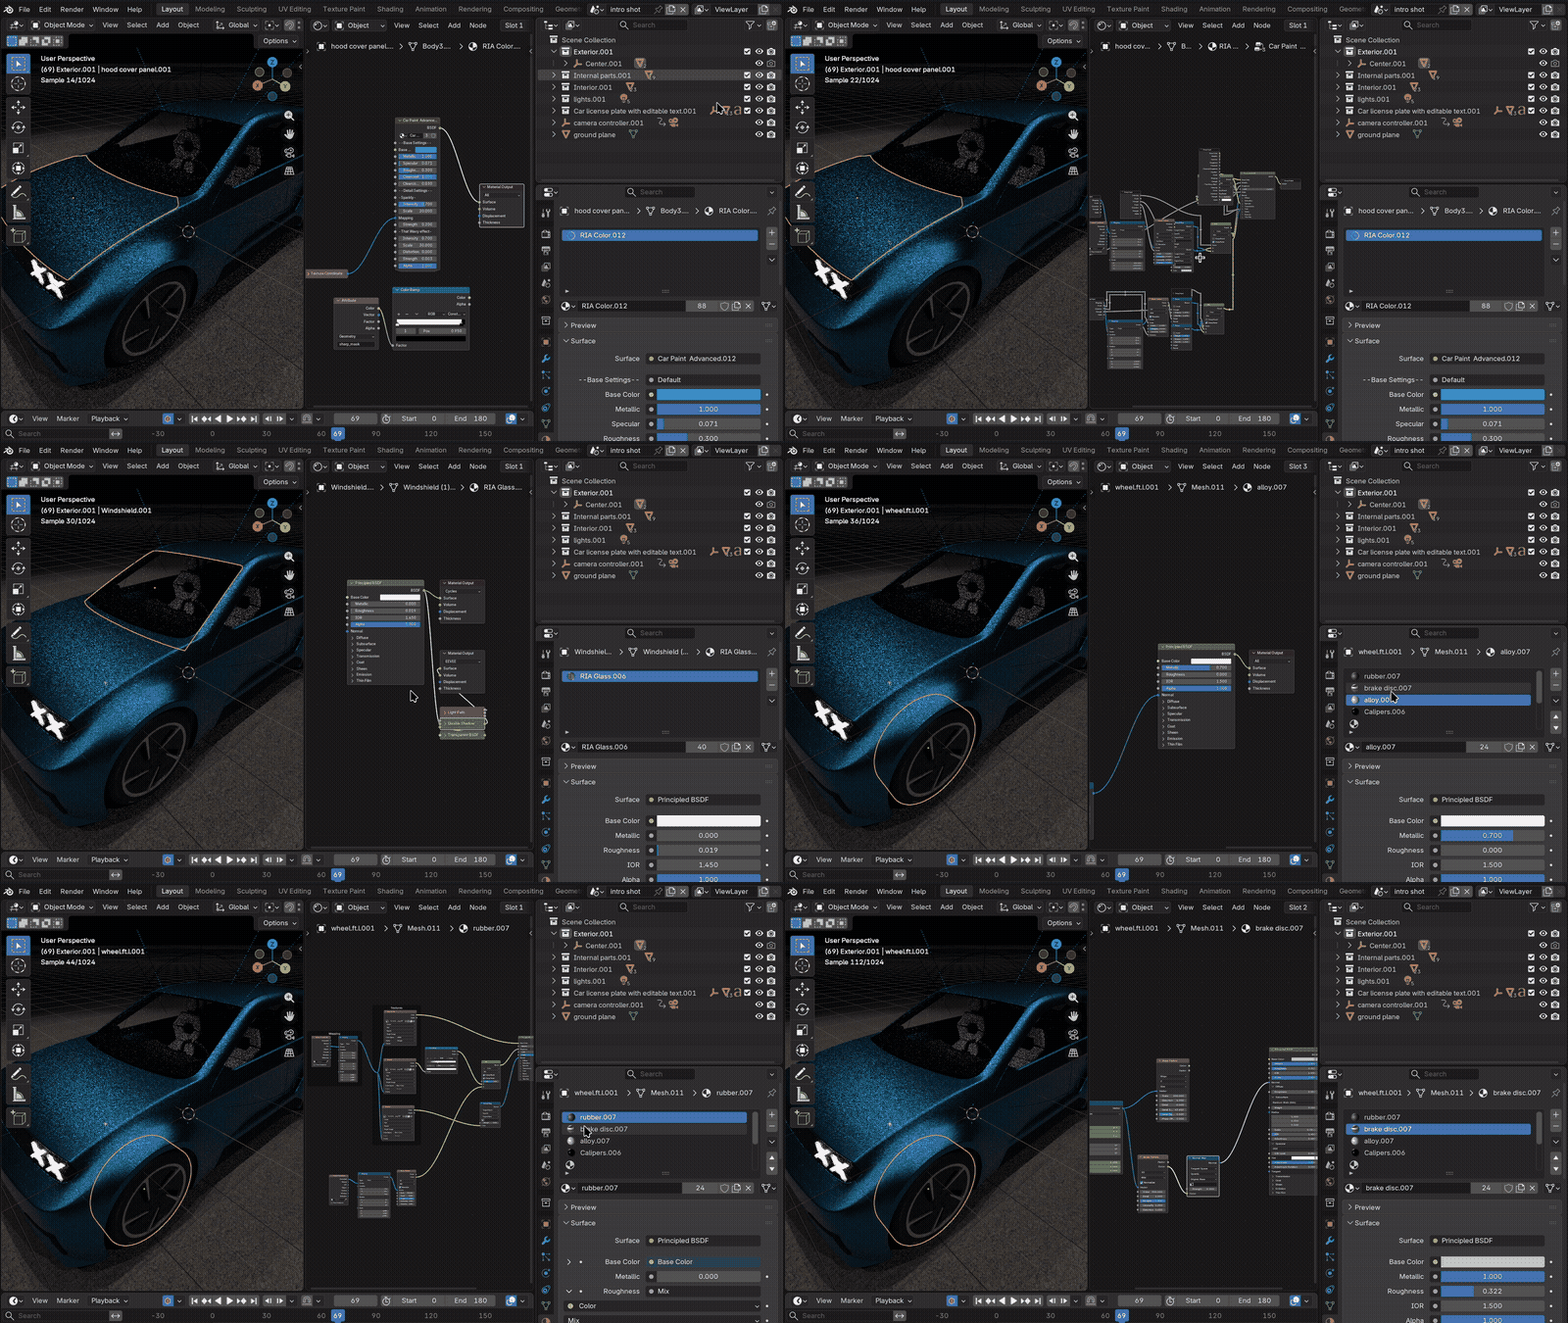
Materials, Texturing & Lighting
The car model was exported with a basic plastic material, which is not very realistic for a car. I had to create realistic materials for the car model using Blender's shader editor. I used a reference wrap and wheel rims available to me in person to create the car materials. I used a combination of procedural textures and image textures to create realistic materials for the car model.
After the materials were finalized I've set up a lighting setup with constraints and drivers for easy adjustment.
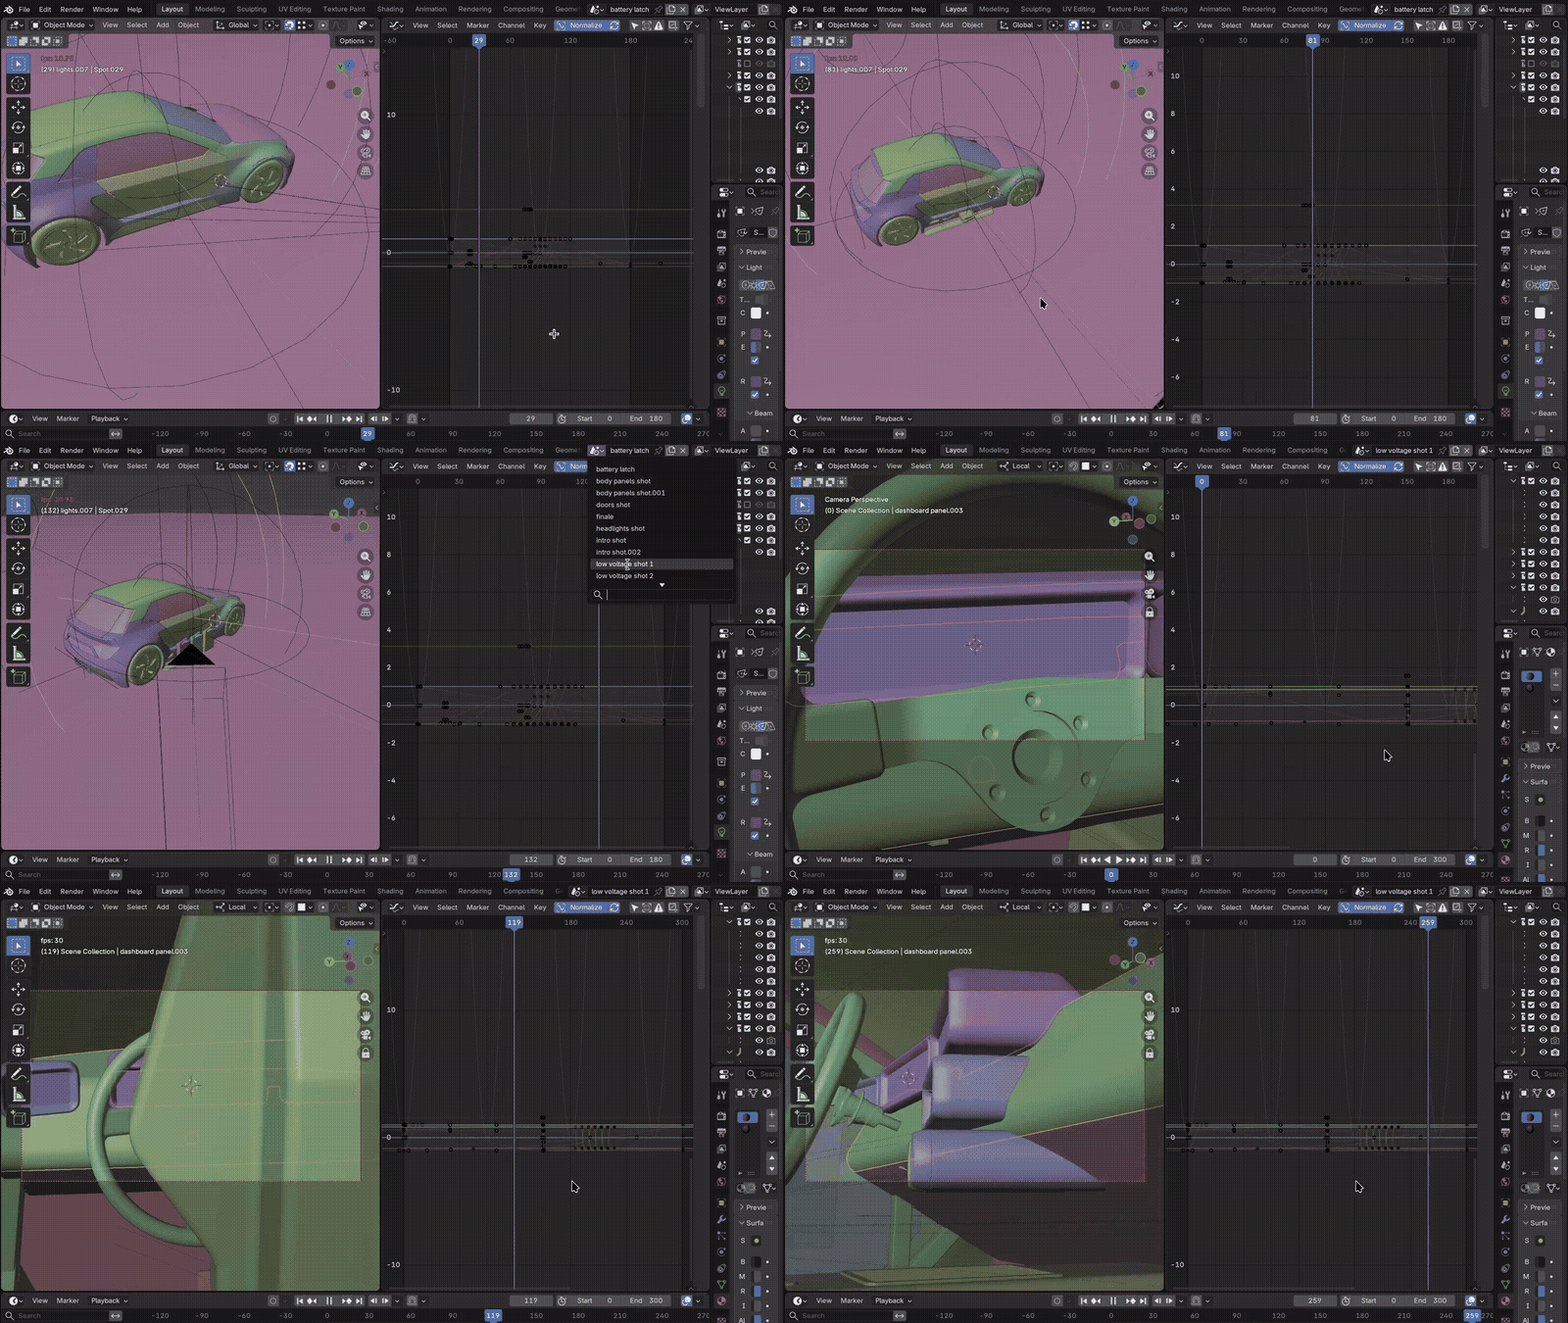
Animation & Camera
Now that I had a base scene, I copied it for each shot so I can have different animations and camera movements for each shot. For every movement I started by setting up rough keyframes, then i used the graph editor to fine-tune the movement and make it look smooth and natural. I also set up a camera controller to allow me to create more accurate and complex camera movements.